Click on “Sending” on menu bar you will see 4 options:
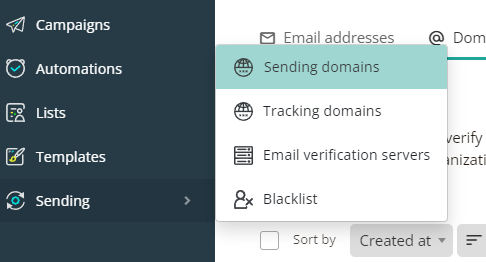
Sending Domains
For sending marketing emails, it is required that you verify your identities (the domains or email addresses that you send email from) to confirm that you own them, and to prevent unauthorized use.
You need to verify your sending address or domain which you will use on your “From” field.
You also have two options in here and you can choose one of them depending on how you want to use and customize your sending:
Email addresses
Verify an email to use as a “FROM” address when you send emails. A verified identity will help improve deliverability. That is, it helps keep your campaigns out of spam folders and protects your reputation by ensuring others can’t use your identity without permission.
This is the most basic setup and and add your email address by clicking on “New sender“. This will be the email address in “From” field when you send out emails. We will send you an email to this address to approve and you are done.
Domains
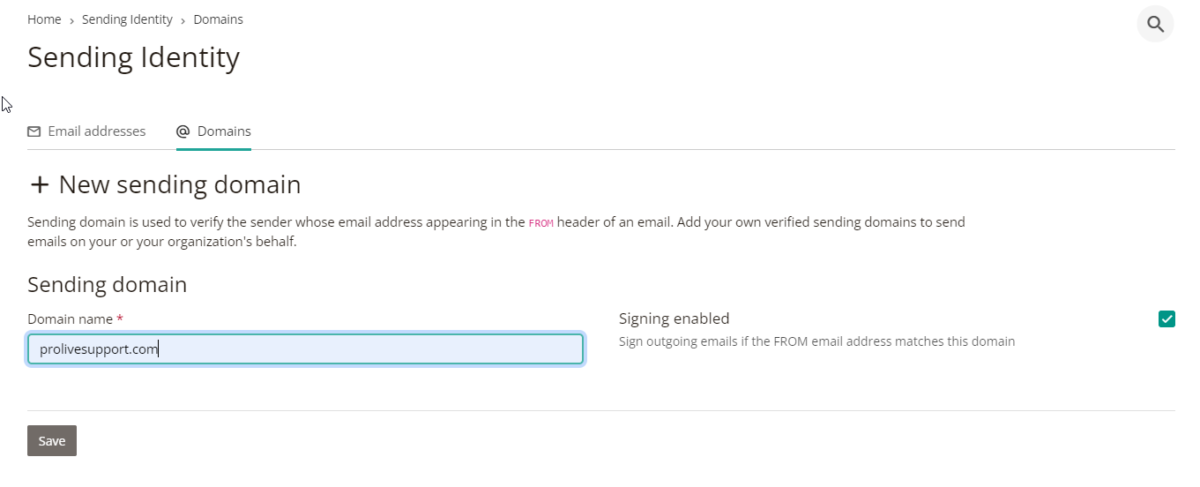
Sending domain is used to verify the sender whose email address appearing in the FROM header of an email. Add your own verified sending domains to send emails on your or your organization’s behalf.
You want to use this option IF you want your emails to be sent from your domain name. This is also a setup that will require you to edit your DNS. So be prepared for it.
Click on “+ New sending domain“:
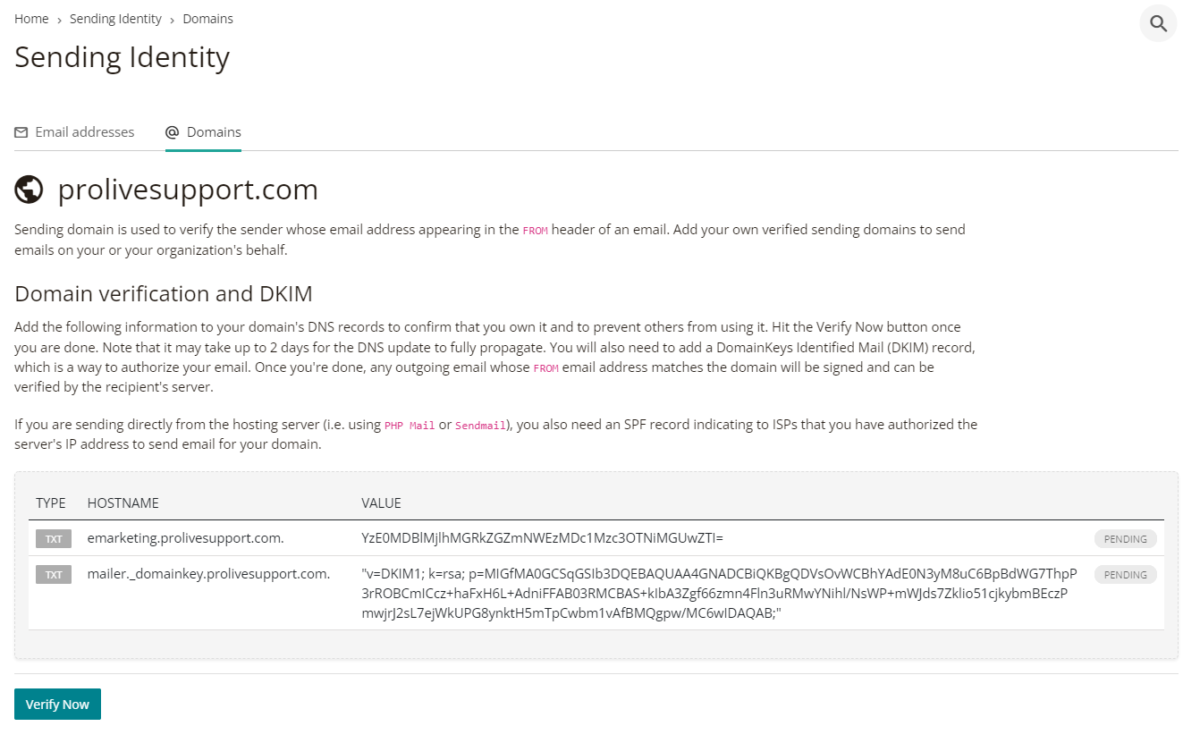
You need to add 2 x TXT entries to your domain’s DNS records to confirm that you own it and to prevent others from using it. Hit the Verify Now button once you are done. Note that it may take up to 2 days for the DNS update to fully propagate. You will also need to add a DomainKeys Identified Mail (DKIM) record, which is a way to authorize your email. Once you’re done, any outgoing email whose FROM email address matches the domain will be signed and can be verified by the recipient’s server.
Here is an article how to add record in IGeniusHost Cpanel.
Here is another one how to add TXT record in GoDaddy.
You can check if your DNS records updated around the world by using DNSWorldCheck.com
Email verification servers
Depending on your subscription plan, here you can choose the 3rd party services you want to use to verify emails.
Blacklist
If you already have a blacklist of emails or un-subscription database, you can import them in this section.
Our system already have a build-in blacklist of over 50,000 emails which are mostly disposable email addresses. You can read more about disposable emails in Wikipedia.